Its been awhile since I last blogged but I have been very busy creating a lot of things. More info to come on that in another blog post!!
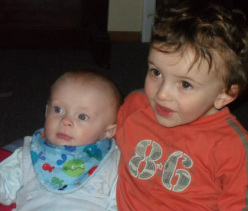
One thing that kept us busy is that my big boy Mouse turned THREE!
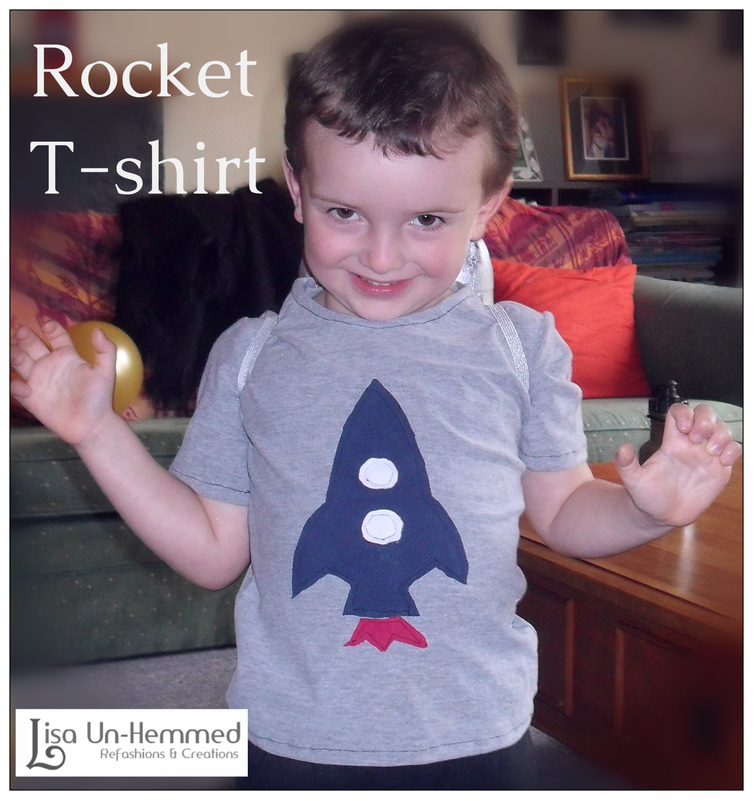
He has wanted a space theme for some time so I thought I could make some rocket t-shirts for him and Tigger to wear to the party.
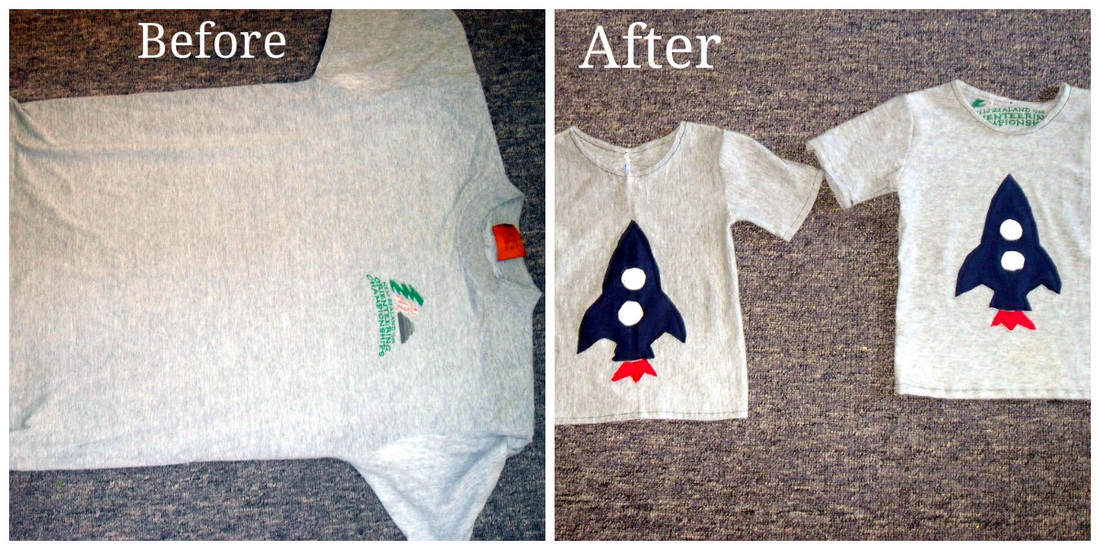
My wonderful in-laws have been digging out old shirts and tees for me to use and I happened to find an awesome grey t-shirt form 1998! It was XL and used to be mine. I must have got my brothers one by mistake I think!
So I turned One big shirt into two little ones with Rocket ship Appliques on them.
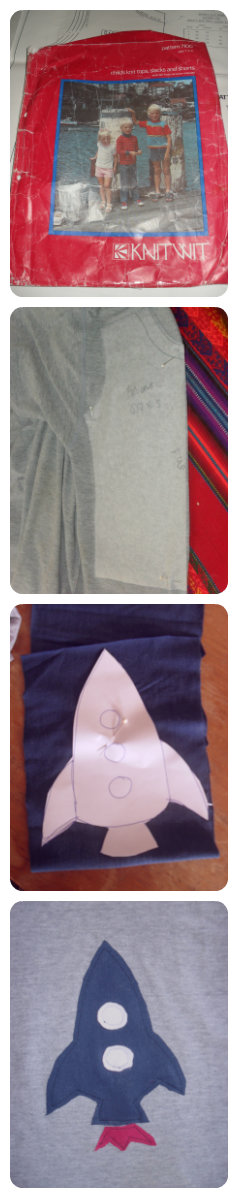
Mum sent me this great pattern from the early 80s.
It has a shirt, pants, jersey and shorts all in one.
It is fantastic and so retro. I love it!!
I didn't want the print on the t-shirt so I used the inside non printed sides for cutting out my patterns.
I got enough material from the big tee to make a size 1 and a size 3 short sleeve shirts!
For Tiggers one I had to do the front and back pieces in halves but was able to sew the pieces together to make a whole front and back section.
Then I found alot of scrap material to make my rockets.
I used Blue t-shirt material fro the rocket body.
Red t-shirt material for the flames and white fluffy material for the rocket windows.
I then found some sticky transfer iron on paper to get all the bits to sew together. This turned into a disaster as the white fluffy material melted onto the iron!!
So I ended up just pinning those bits on before sewing them.
I sewed the Rockets on just with a simple straight stitch. I have done it properly before with tiny zig zag stitch but I wanted this to be quick and simple.
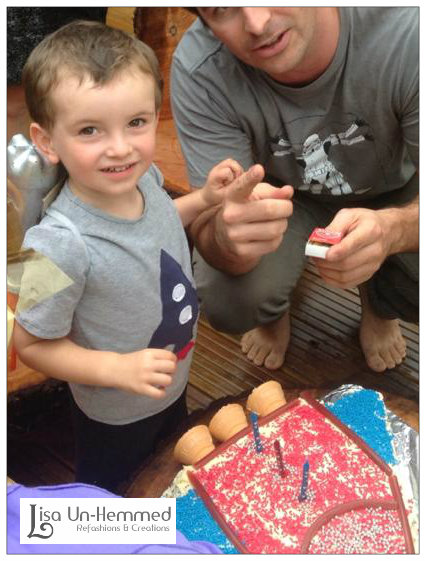
Mouse had a fantastic party and a great time with his rocket t-shirt.
I think they turned out great and for my first t-shirts and will be making some more soon with all these shirts I have in my stash
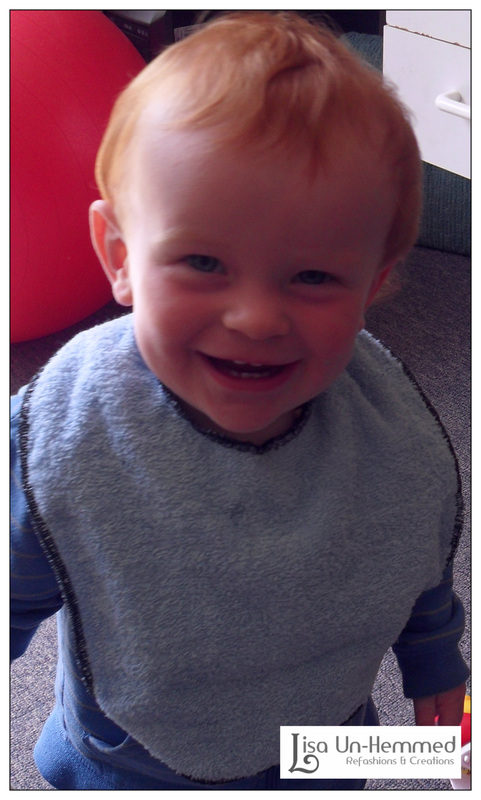
Tigger is a very messy eater. I think he just like to experiment on how much food he can get everywhere apart from his mouth. Therefore all his bibs were smeared and stained and I needed some new ones.
I had some left over toweling fabric and some waterproof material in my scrap pile that I thought could get used up.

For this project I used....
Toweling fabric
Waterproof plastic fabric
Thread on overlocker
Metal snaps with hammer to attach
Old bib to use for shape
Firstly I traced around an old bib to get the right shape onto a piece of paper.
The bigger the better for Tigger!
I then cut out the shape and cut out one piece of the toweling fabric and one of the plastic fabric.
I then pinned them together.
Then over locked the edges together.
Then I used my hammer to attach the metal snaps to the neck of the bib.
This took me about 30 minutes to do and cost me nothing to make as the material was scrap left overs and my Nana had given me the metal snaps.
I could have done it neater and have matching overlocking thread but I needed these quickly and managed to get 3 bibs out of the material I had.
So really happy how these turned out and will be making some more when Tigger trashes these!
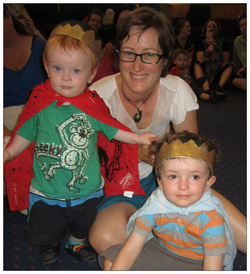
We had our Mainly Music Christmas Party last week and we were asked to dress the kids as wise men/kings, Shepherds or angels.
I raided the dress up box at the last minute for ideas and found some old bandannas that were perfect size for Kings capes and then made the crowns out of newspaper.
I folded the newspaper over a few times to make it stiff and stapled it to the size of the boys heads.
Then I painted points with the top half black and bottom half gold to look like a crown without any annoying fraying paper bits.
Considering this took me approx 5 minutes to do with a little longer for the paint to dry I think they look pretty cute!
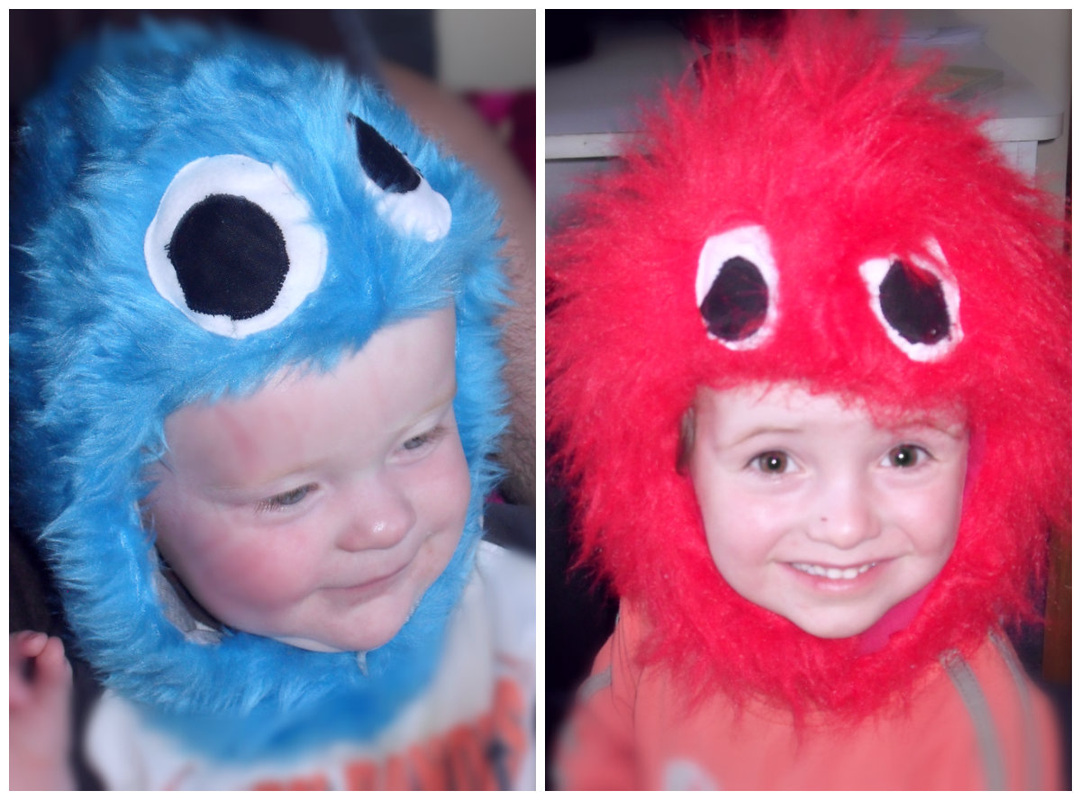
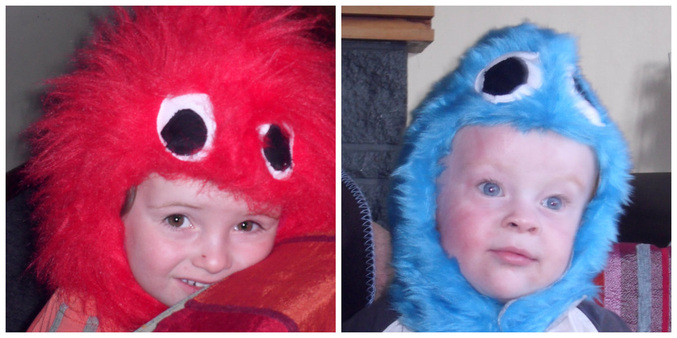
Cookie Monster and Elmo Inspired Hoods
Tigger is turning ONE!! I can't believe my baby boy is toddling around and tearing the place up.
For quite sometime one of the only things that would calm him down if he was upset was to listen to Cookie Monster sing "C is for Cookie". So we have decided to have a Happy Cookie Monster Birthday Party for Tigger. Of course we need dress ups so I came up with the idea to do furry Cookie monster and Elmo inspired hoods for Tigger and Mouse to wear to the party.
I had a look around the internet and have been inspired by the following web sites which have done animal hoods. Have a look if what I have done is not clear enough,
Check out
www.fleecefarm.comhttp://greeneggsnhamm.blogspot.co.nzhttp://www.craftster.orgWhat you will need - for 1-3 year old boysPaper to make pattern
30cm by 50cm approx - Lining material - I used old t-shirts
30cm of 150m roll approx - Fake fur material what ever colour you like - I used red and blue
5cm by 5cm white material for eyes - I used some old fleece
3cm by 3cm black material for eyes - I used some scrap black cotton
Dome Snap clips set
Hammer
Pins and scissors
Matching thread
Sewing Machine
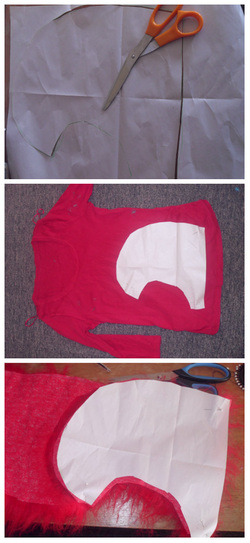
1 - I traced around one side of an animal hood at play group to get the right size and shape of hood I wanted. But check out the fleecefarm web site for a different way of doing it.
I then cut it out to make a pattern.
2. I then used the pattern to cut out two sides of lining for inside the hood.
I used old t-shirts for the lining and just cut through two layers of t-shirt.
3. I used the same pattern to cut out the furry material. Be careful to make sure you have 2 sides of fur. It is probably easiest to fold over the material and cut through two layers.
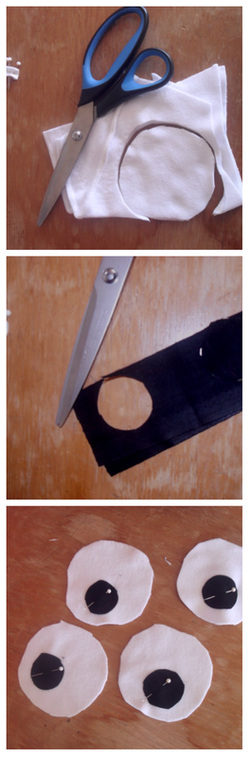
4. To make the eyes fold over the white fabric and cut circles the size you want the eyes to be.
5. Then fold over the black fabric and make smaller circles to make the irises.
6. Pin the black onto the white where you would like them to be placed.

7. Sew the black circles onto the white circles using black thread. You can use zig zag or straight stitch going around the outside of the circle. You could also be very clever and do a proper Applique if you have time.
8. Pin the lining pieces together right sides together and Sew the pieces together from the forehead to the back of the neck. I used a zig zag stitch as it was t-shirt material.
9. Repeat with the furry materials, pinning furry sides together and tucking any extra fur inside while you are pinning. I Used a straight stitch for this.
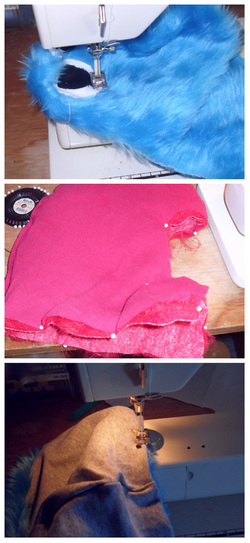
10. Place the eyes where you would like them and pin on. Sew with white thread around the outside of the white part of the eye. You could use straight or zig zag stitch for this.
11. Pin the lining and furry pieces together right sides facing each other. Make sure all furry parts are tucked inside.
12. Sew from the back of the hood around all the seams but leave about 5-10cm at the end and backstitch.
You now need to turn the hood inside out so the furry part and right side of the lining are now on the outside.
You then can fold the last little bits in and finish off closing the hole with the machine - or hand sew it for a neater job.
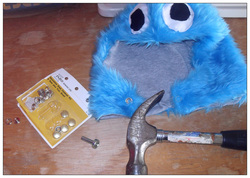
13. Lastly use the dome snap closures on either side of the neck. Use a hammer to knock them into place or follow packet instructions.
You could use velcro but I thought it would get messy with all the fur!!
So there you have it!
My take on Elmo and Cookie Monster inspired hoods.
They are not exactly alike due to different length furs, and I think Elmo has a nose. But the boys love them and we are now set for the Monster Party.
Just need to sort Mr T and myself out now for some Monster madness.
Tigger was a much more dribbly baby than Mouse ever was.
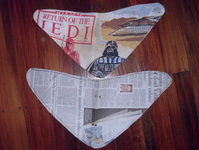
My Brother in Law had got us these really cool Star Wars Dribble bibs that he found in Wellington, But two were not enough!!
Tigger was getting them drool soaked by 10am.
So I thought I'd give it a go at making some.
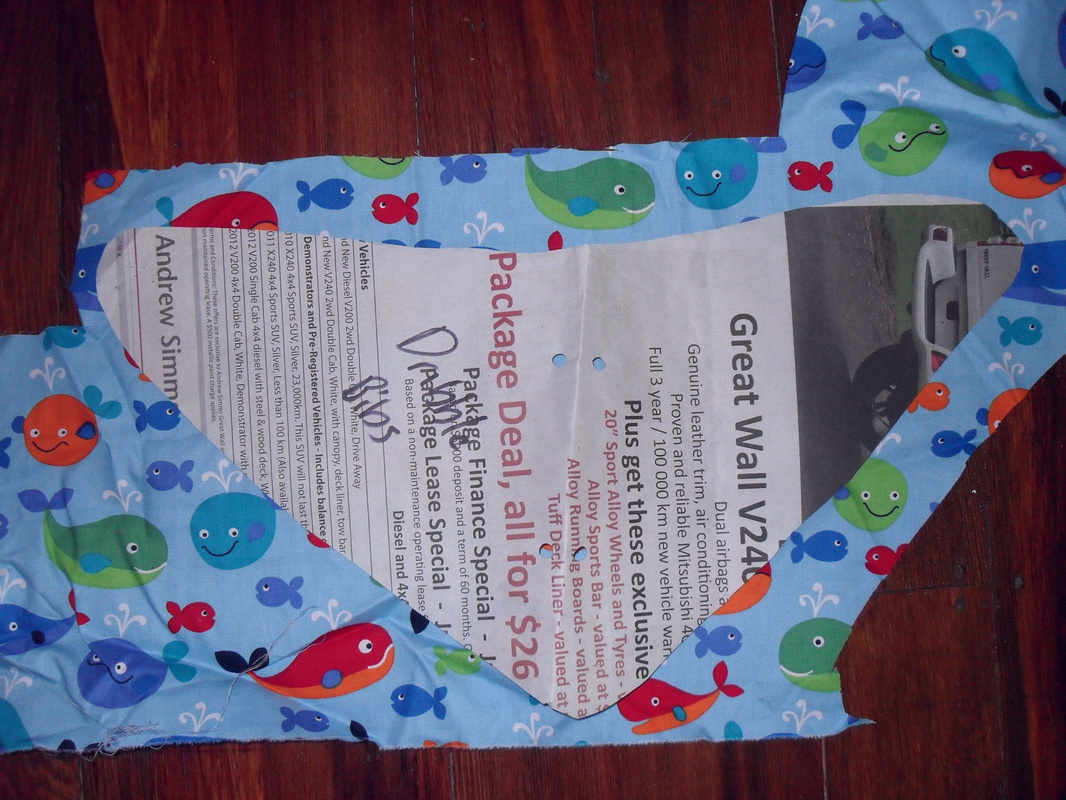
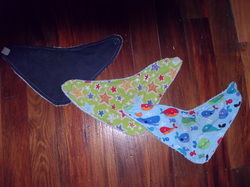
| | I traced around the shape of the original bib leaving a 5 mm sewing allowance.
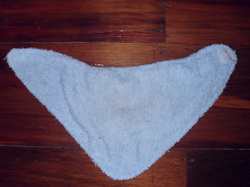
The original bib had cotton on the outside and toweling/fleece on the back.
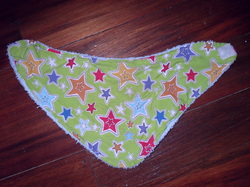
I then cut out the shape on some cool stars, and fish material I found, some denim looking fabric from an old pair of maternity pants I had, and also some blue toweling fabric.
| |
I sewed the patterned fabric and toweling fabric right sides together, leaving a small gap on one of the edges.
Then I turned it inside out through that hole so right sides were now on the outside.
I then sewed a very close seam all around the bib and the turning hole making it all neat and flat and closing the hole.
I then stuck on some sticky velcro on the corners on the bib and sewed it on.
This made the needle very sticky and didn't work very well. I need to find a better way to do velcro!! Any hints???
Otherwise next time I might do non sticky velcro and just take my time sewing.
I did about six of these and was super happy on how they turned out, and Tigger's clothes stopped getting so wet, which was great.
Now he has stopped dribbling even though he is teething so thinking about just using these for food bibs from now on.
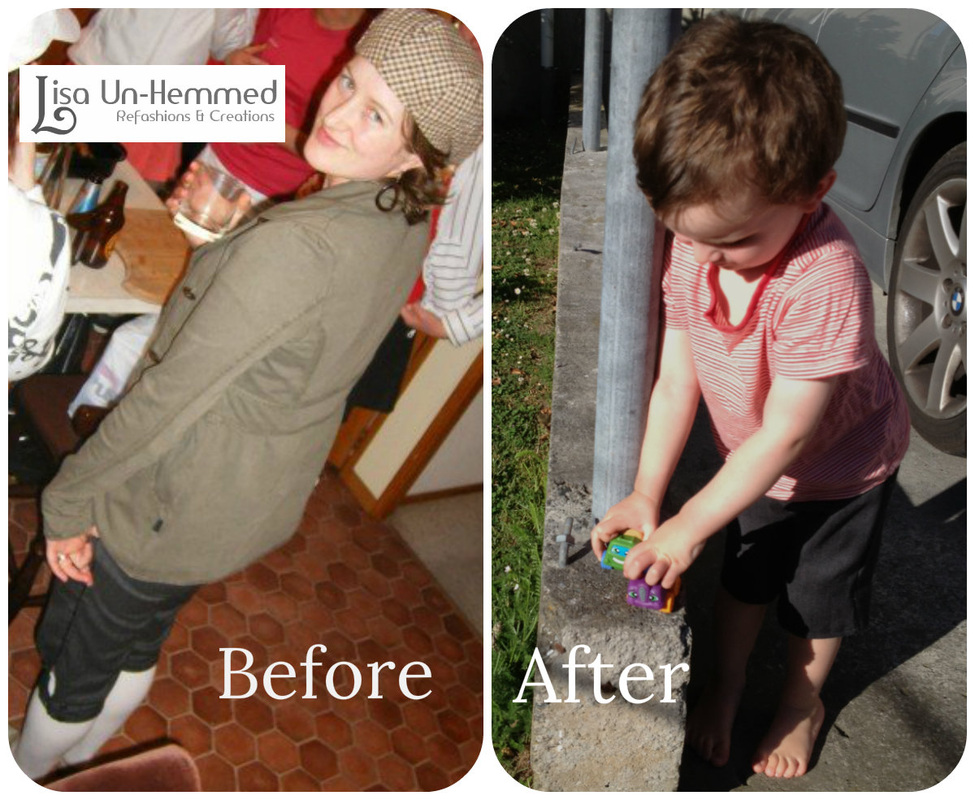
Before After
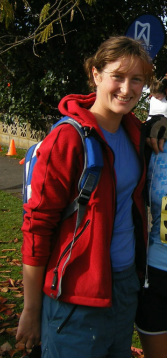
I had splashed hot oil on one of my favourite Fleecey Hoodies. I was gutted! Oil melted bits all over the front. It had sat in my wardrobe for a few years as I couldn't bring myself to throw it out. Then we had a family reunion down in the South Island in the middle of winter and my new baby (6 months at the time) didn't have enough warm clothes to keep him snuggly in the snow.
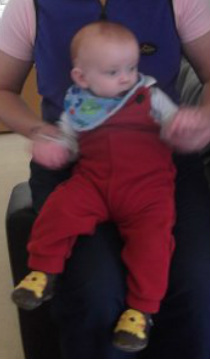
My Mum had sent me a few old retro patterns that she had kept from when we were kids, thinking the overall one might work for covering my little Tigger up. This one was Knitwit pattern 6200 with child's overalls, dress and knit top.
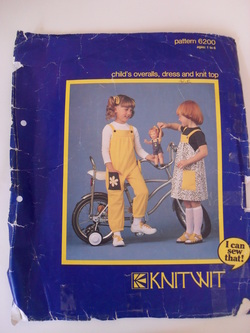
Unfortunately it was only in sizes age 1-6, so I had to be a bit creative with the sizing.
I used the sleeves of the hoodie to make the legs so I didn't have to hem the leg cuffs, and ended up having to lengthen the torso for my little guy by adding another panel front and back.
This was also my very first time doing button holes! (I am very proud of myself).
Sorry there is no step by step on how I did this but I will try to take more photos in the future.
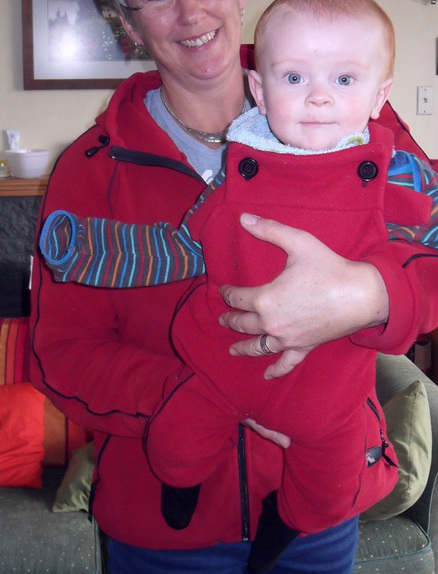
He is still fitting the overalls now at 10 months. I'm trying to get lots of use out of them before it gets too hot. It was 27 deg C yesterday!
Below is a shot of my Step mum in her Hoodie (we matched as we both loved it so much!) and Tigger in the finished overalls.